Accidentally Professional: A Lazy Reseller’s Guide to Photos That Actually Sell
by Joem Castones •December 8, 2025

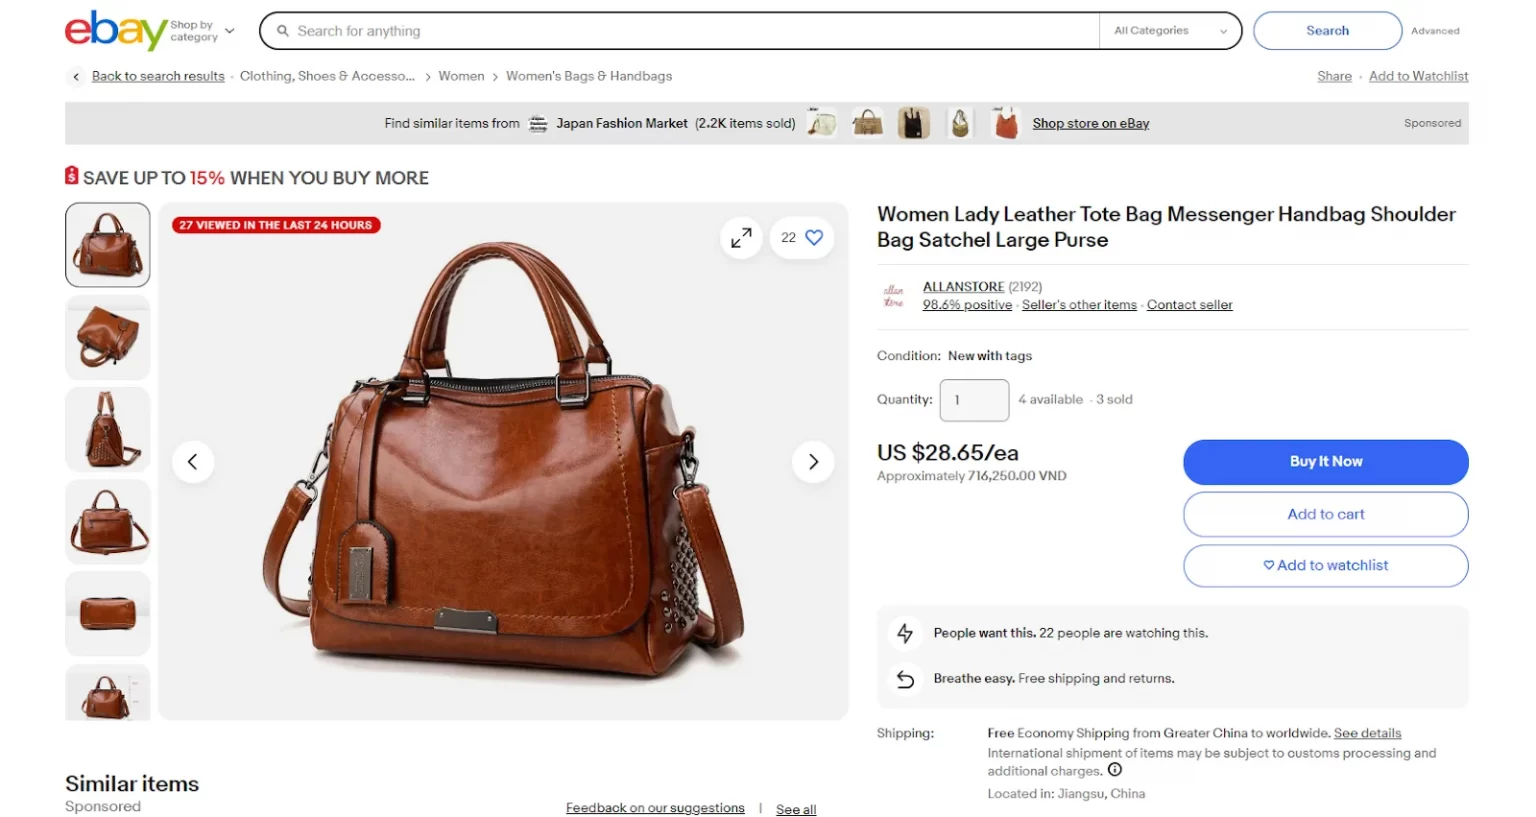
There’s something humbling about scrolling through your own online listings and realizing half your items look like they were photographed during a power shortage. Maybe the shirt looks fine to you in person, but online it somehow transforms into a mysterious blob. Maybe the buyer messages you saying, “Is this blue or gray?” and suddenly you’re questioning your entire understanding of color.
That’s the moment every reseller faces: Oh. My photos might be the problem.
Good photos don’t just show your item. They sell it. They grab attention mid-scroll, build sought-after trust, and make a buyer feel like the item is already in their cart. And the good news? You don’t need a studio, a fancy DSLR, or twelve editing apps. Just a few simple adjustments can change everything.
So let’s fix that. The fun, realistic way. The “I don’t own a ring light and refuse to pretend I live in a Pinterest house” kind of way.
Step 1: Chase the Light Like It’s 2008 and You’re Waiting for Twilight to Premiere
Natural light is your best friend. It’s free, flattering, and will forgive many sins. Unlike overhead lighting, which has the same warm undertone as a potato.
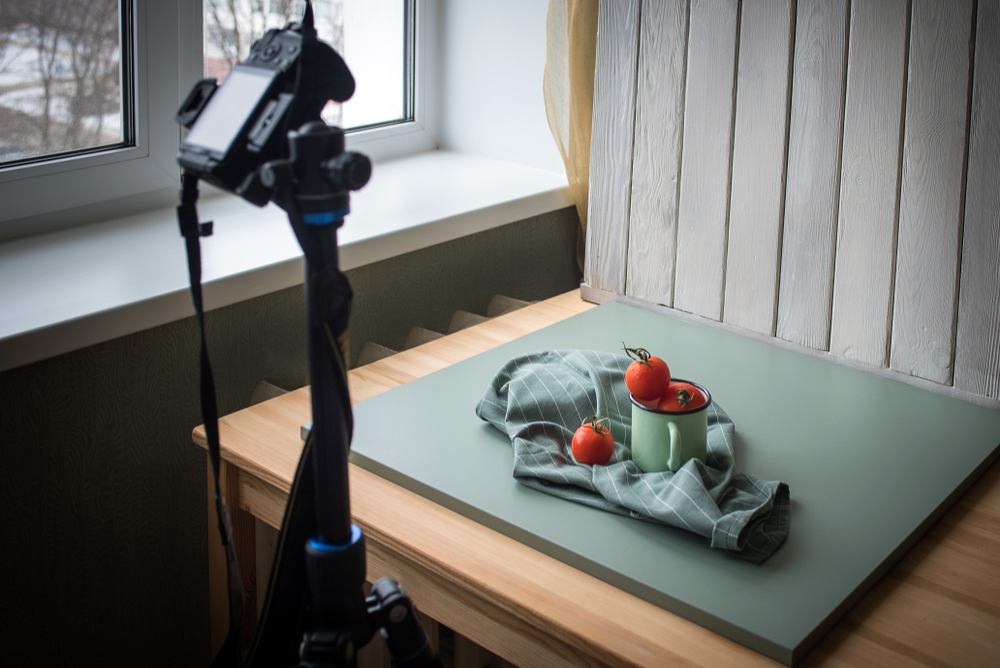
Place your item near a bright window. Preferably the one where the sun hits nicely, not the one you keep blocked with curtains to avoid your neighbors.
Turn off all indoor lights because they turn everything yellow. Morning or late afternoon light gives you that soft glow that makes buyers feel like the item isn’t hiding anything. Natural light removes that “maybe it’s damaged?” hesitation.
Step 2: The Background Should Not Be Fighting For Attention
Your item should be the main character. Not the laundry basket behind it, not the half-finished cup of iced coffee, not your dog walking into frame like a cameo. You wouldn’t put a piece of fine art on a cluttered shelf with half-eaten pizza boxes and random shoes.

Don’t overthink this. Don’t spend or run to the craft store—minimalism is your friend. A blank wall. A plain bedsheet. A clean tabletop. A floor you sweep occasionally. No need to get fancy, just make sure it’s clean and unobtrusive.
While a complicated or colorful background can be cute for Instagram, it can turn into a visual noise in a listing. We’re not here for a mood board. The less the background competes for attention, the more your item will stand out.
That’s it. Minimal effort, yet there you are, accidentally professional.
Step 3: Take These Angles (Yes, All of Them)
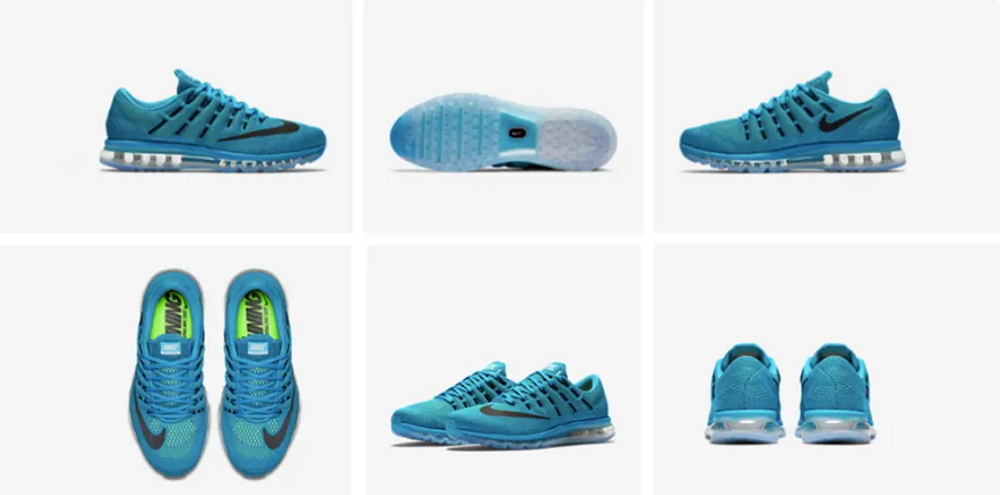
Think of these photo angles as the group project in school where you actually have to do everyone’s job so the whole thing doesn’t go down.
Like a silent conversation, you want to answer every question a buyer might have before they ask it. Here’s the lineup:
1. The Cover Shot
Straight-on, clean, pretty. Think “resume photo” but for your item.
2. The Side Angle
Because flat photos lie. Show shape, depth, structure. Make buyers trust you.
3. The Close-Up
Textures, fabrics, the small patterns. Buyers love details. They want to zoom in dramatically like they’re solving a mystery.
4. The Flaws (if any)
Because we are honest resellers, not magicians. Show the scratches, the stains, the tiny holes. Honesty begets trust, and buyers respect transparency.
5. The Lifestyle-y Shot (if applicable)
The item, but make it cute. A bag on a hanger. A dress on a mannequin. A mug on a table with a plant nearby. You’re not just selling the mug. You’re selling the idea that their future will be aesthetically better because of it.
The more answers your photos give, the fewer questions buyers need to ask. Meaning faster sales.
Step 4: Stability Matters (More Than We Like to Admit)
If your hands shake like you’ve had three shots of espresso on an empty stomach, your photos will look like Google Street View driving past at 90 mph. The key to sharp, clear photos is stability. Without it, you risk giving buyers a virtual headache.
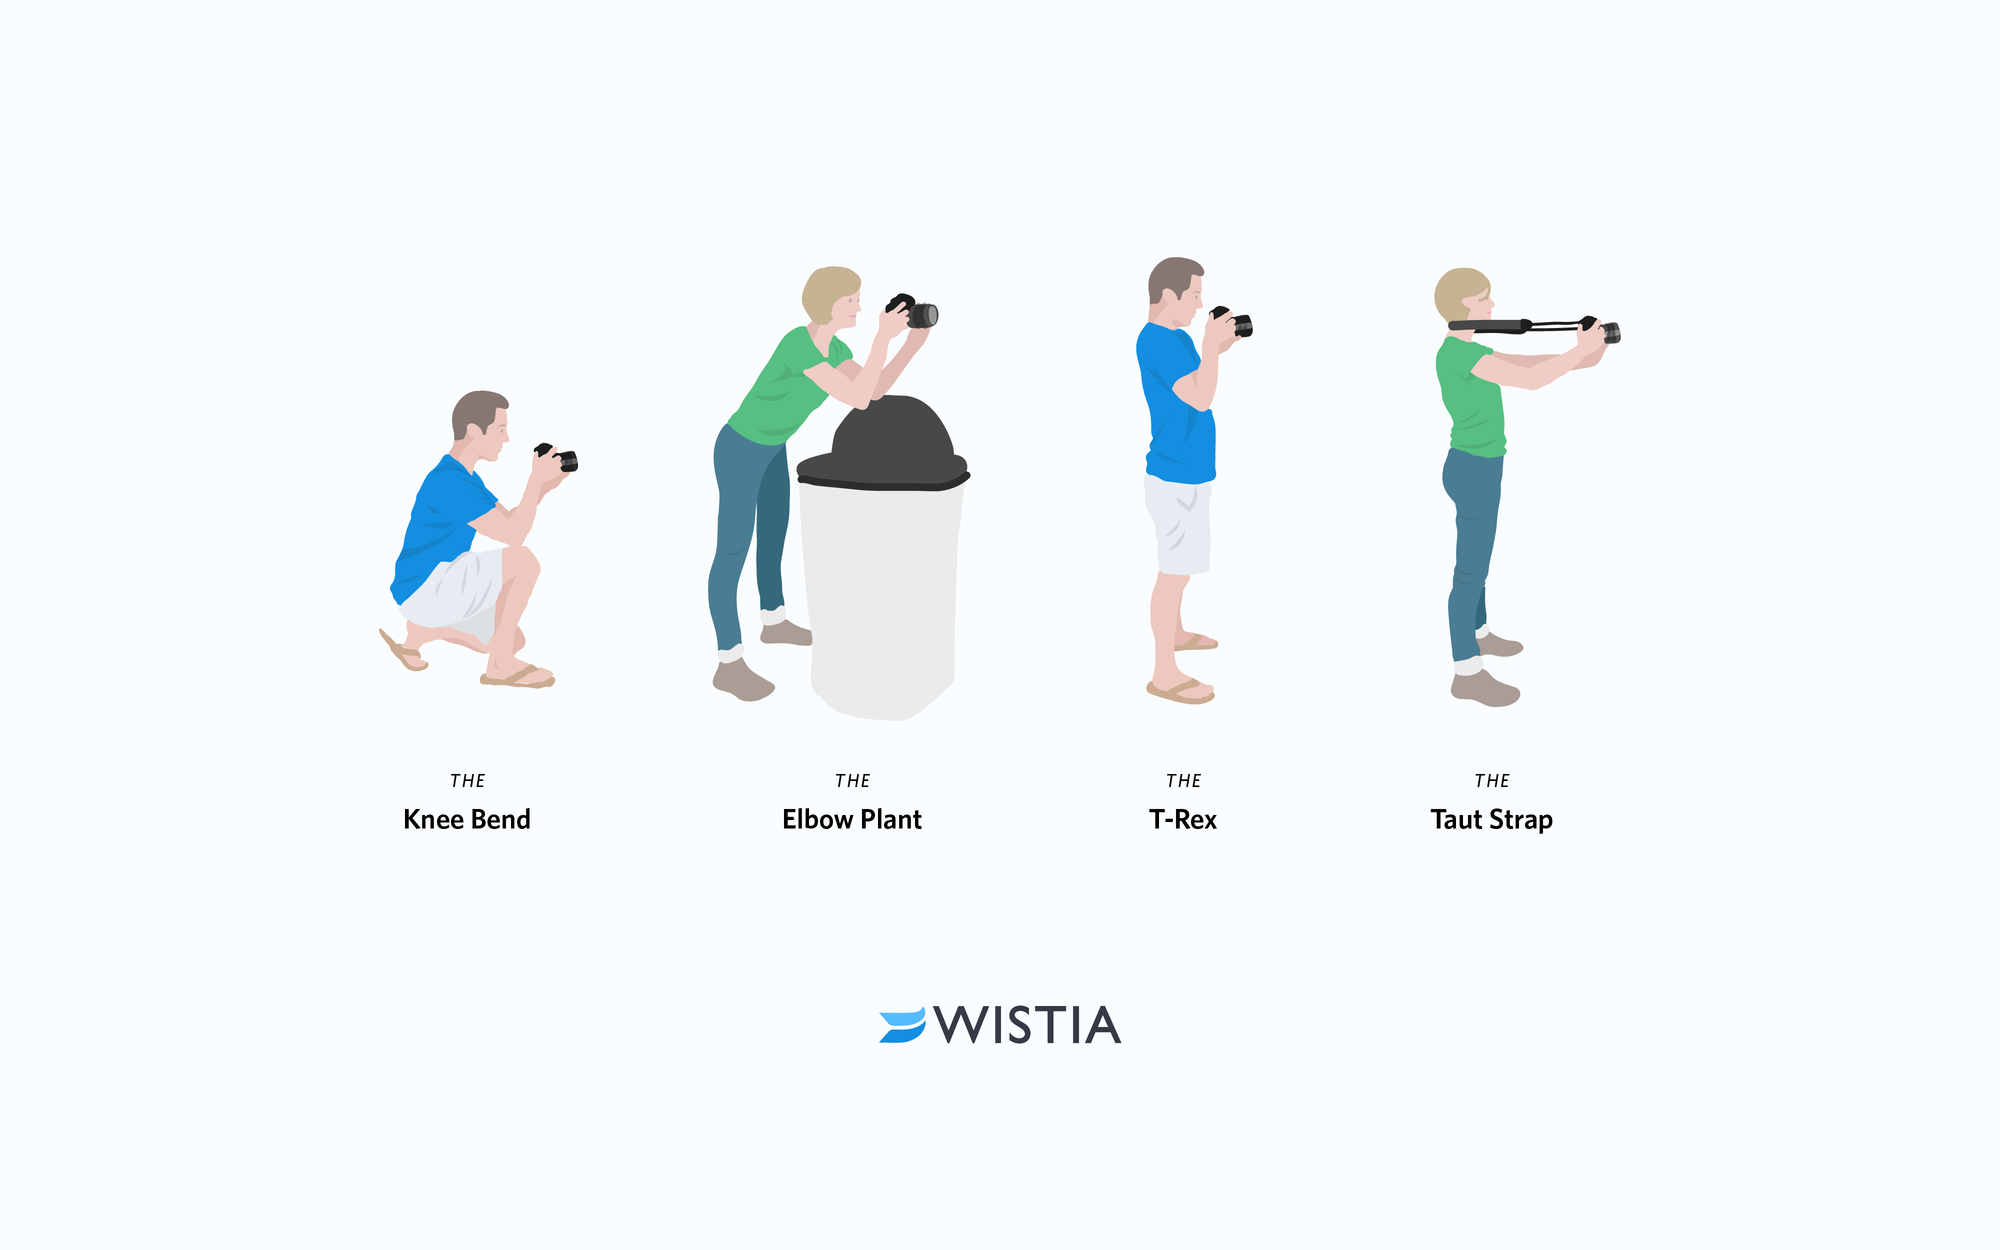
Use both hands and brace your elbows against your torso. Or if you’re still feeling shaky, set your phone on a stack of books. Or literally just lean against a wall like you’re taking a break from taking breaks.
A tripod is nice, yes, but fully optional. Use your body as the tripod. No one needs to know.
But if you’re a fan of tripods, go ahead and use one. Who am I to judge? Just don’t expect me to bring out the confetti when you finally get the perfect shot.
Step 5: Editing Should Enhance, Not Catfish
Let’s get one thing straight: Your photos should enhance the item, not turn it into something it’s not. We’re going for crisp and natural, not filtered to Instagram oblivion. Buyers are paying for the item, not the Valencia preset.
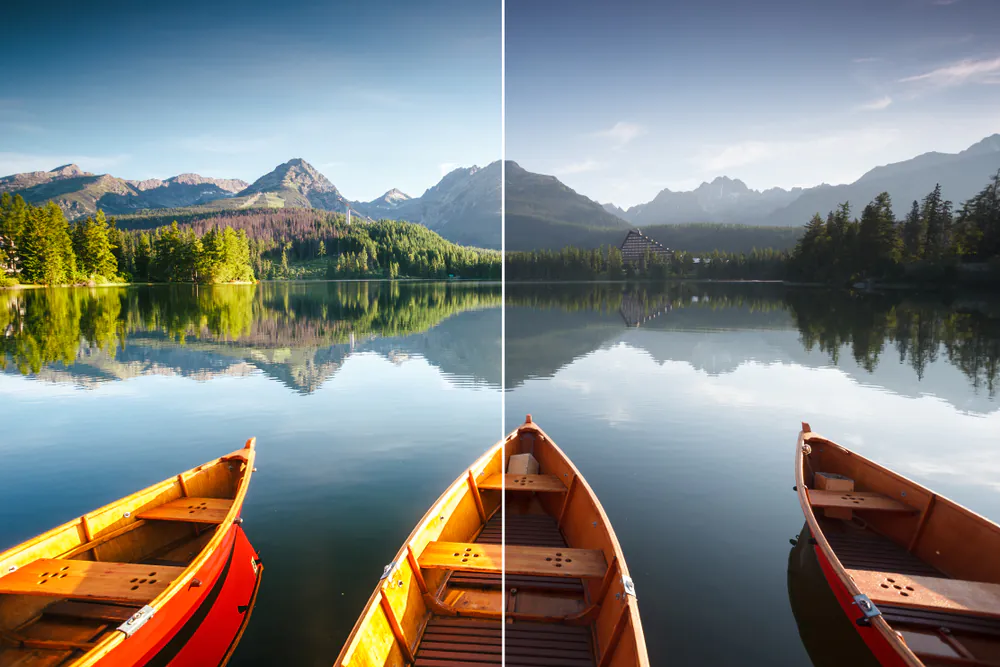
Only adjust the essentials. You can adjust brightness to make your photos pop, tweak the contrast to bring out details, or sharpen the image so it’s crystal clear. The photos are meant for clarity, not deception. If you start going overboard with those filters, buyers will expect your item to arrive looking like it just came out of a time machine. And guess what? It won’t. And you’re going to get complaints, returns, and disappointed parents.
Remember: Less is more when it comes to editing. Trust the item. It can sell itself with a little help from your camera, some good lighting, and a few subtle tweaks.
Step 6: Color Accuracy or Chaos, No In Between
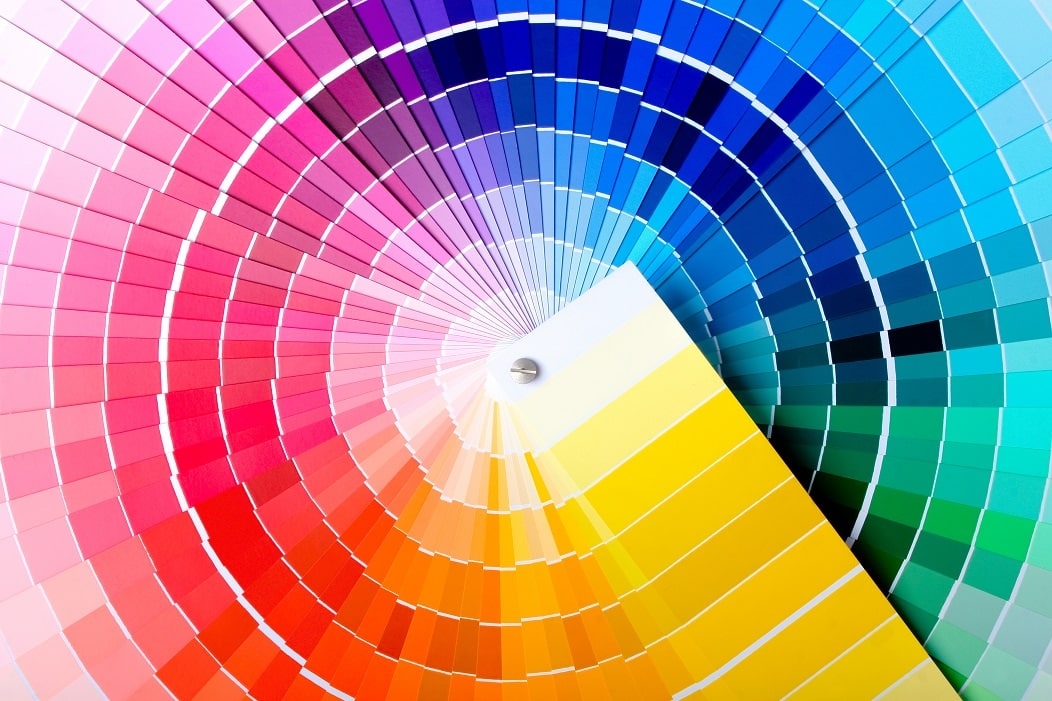
This is a big one.
If your red looks orange or your black looks navy, you’re in for a world of problems. Complaints. Returns. Messages at 11 PM asking, “Hello, is this the actual color? Thank you very much.”
Colors are tricky. Lighting can distort them, your phone’s camera can play tricks on your eyes, and suddenly that bright green hoodie looks like a faded pea soup. So, before you upload your photo, take a moment to double-check. Compare the item in real life to the photo and make them match. If they don’t, move the item closer to the window and retake the shot. Repeat until the universe cooperates.
No one wants to feel like they’re playing roulette with color, so be honest and accurate with what you’re showing.
Step 7: The Sweet Spot is 6-8
One photo? Suspicious. Twelve photos? Exhausting. Twenty photos? You’re documenting a crime scene.
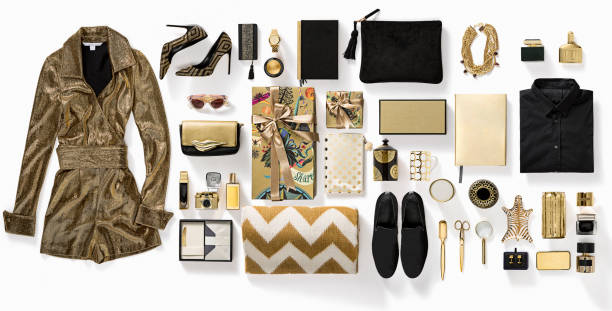
Six to eight pictures is the perfect spot. You’ve got to find the balance. Enough to show everything and build trust, but not so many that the buyer feels like they’re reading an instruction manual. Buyers don’t want to scroll through an endless set of images, but they also need enough to feel confident in their purchase.
Step 8: Keep Your Photo Library Organized Before You Lose Your Mind
You think you’ll remember which black shirt is which, until you don’t.
Make little folders. Name them. Keep everything together. Especially if you’re listing across multiple platforms, having all your photos clean and consistent saves a ton of time.
This is also where SellRaze becomes your best friend. Polish photos → upload once → list everywhere → done. No more juggling platforms like you’re in a digital circus.
Not sure you're getting the best deals? SellRaze keeps your inventory in sync and helps you track competitive pricing, so you never miss out on a sale. Start optimizing your listings today!
The truth is, taking great listing photos is not about having a studio or a spotlight or a marble backdrop like you see on Pinterest. It’s just about intention. Better light. Clearer angles. Honest details. And a tiny bit of consistency that turns a casual scroll into a full-on double take.
And once you get the hang of it, your items won’t just sit there in online purgatory. They’ll look sharper, more professional, basically summon a swarm of buyers like your listings are some kind of online Baron von Buynow.